
How to replace A
NuTone central vacuum unit
(These instructions will work for replacing most central vacuum units)
If you're looking to upgrade your central vacuum system, you've come to the right place. In this video, we show you step-by-step how to replace your old NuTone central vacuum with an upgraded VacuMaid unit. These newer units are more powerful and easier to use, with better filtration and less frequent bag changes. We'll guide you through the installation process, including removing the old unit, installing the new bracket, cutting and attaching pipes, and connecting the low-voltage wire.
Please do not attempt to use standard plumbing pipe fittings found at your home improvement store. These will not mate with central vacuum fittings and can affect the suction. When you purchase the unit from us, we can provide fittings at a low cost, less than PVC fittings from a box store. Depending on your current setup, this job should take less than an hour.
If you have any questions or need help with your installation, feel free to message us photos of your current setup through our website or contact us at 1-833-382-2886.
follow these steps:
1. Start by unplugging your old unit and disconnecting any attached low-voltage wires.
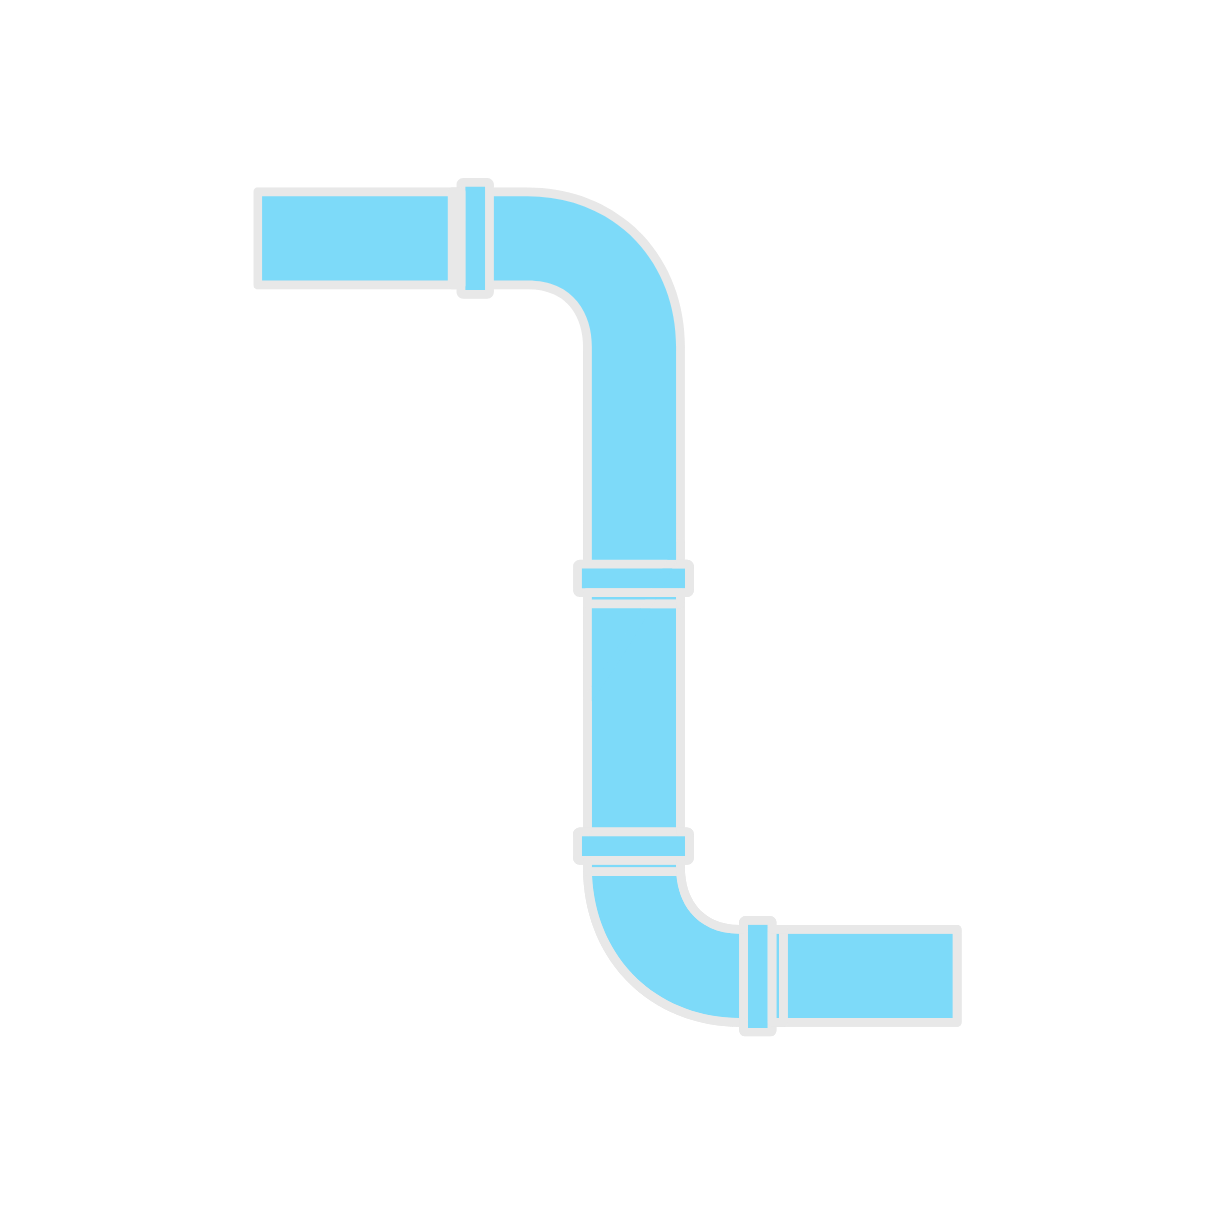
2. Then pull the fittings apart. Sometimes, the pipe may be glued directly to the unit. If this is the case, you will need to cut the pipe. Central vacuum tubing is thin-walled, making cutting with a hand or reciprocating saw easy. You’ll want to leave at least a few inches of pipe before a fitting so you can attach a 90-degree elbow or coupler. Always support the pipe with your other hand to prevent cracking.
3. Now you can remove the unit from the wall bracket. If the screws are loose like they are here, you should be able to lift the unit directly off the wall without any tools. If the unit is tight to the wall, use a wrench behind it to loosen the bolts a few turns, and you should be able to slide it up.
4. Remove the old bracket from the wall.
5. Now you’ll want to install the new bracket included with your unit to the wall. In most installations, the unit is mounted to a stud in the basement or a piece of wood, so use the included bolts and drive directly into the wood.
6. To hang the unit, position the unit above the bracket and slide down into the matching v-shaped grooves in the back. Ensure the unit sits securely on the bracket and not on the sides.
7. A major benefit of this unit is that you can choose the side for the dirt intake depending on your setup. So if your old unit has the dirt intake on the right, install the intake on the right side and the plug on the left.
8. It needs an airtight fit, so it needs to be shimmied in slowly. Make sure it faces the back of the unit, as seen here. Then open the included bag fully and slide it over the dirt inlet.
9. Install the cover securely, giving it a spin to ensure a good seal.
10. Now, you can cut and attach the pipes to fit from where you cut off the old pipe. This homeowner wanted a valve next to the unit so they could vacuum the basement, so we included one here, but you don’t need to install one if you do not need it. Each of these pieces is cut and glued.
11. Apply the glue to the outside of all pipes, then spin the pipe as you push it into place. Central vacuum pipe does not require primer because it does not carry liquid.
12. Attach the muffler or exhaust pipe, depending on what you currently have.
13. Strip the end of the low-voltage wire and insert it into the clips on the side of the unit. It does not matter what color goes in what clip.
Now you’re all set to test out your new central vacuum unit!
With central vacuum systems, the brand of the hose can be different from the brand of your central vac unit. However, the end of the hose that plugs into the wall inlet needs to match the type of inlet you have. Keep this in mind if you will be replacing your central vacuum hoses. Our Central Vacuum Hose Finder will help you choose the hoses and attachments to match your system.
Central Vacuum Kits
Why choose a central vacuum from Geek Vacuums?

SAVE MONEY?
Our systems are built to last 20+ years, so stop wasting your money on box store vacuums that constantly break.

SAVE YOUR BACK!
No more lugging a heavy vacuum around the house and up and down the stairs.
FITTINGS?
We’ve got you covered! Our comprehensive collection of wall inlets and fittings make it easy to find everything you need for easy installation.

ALLERGIES?
Our systems exhaust 100% of dust, mold, dander, viruses, and other allergens out of your living space, significantly reducing allergy symptoms.

PET HAIR?
No problem for central vacuums. Our bags hold over 3 gallons of compacted pet hair so you can empty less often.

WARRANTY?
No need to worry, our units come with a 10 year manufacturers warranty* so you can how you want with less stress.