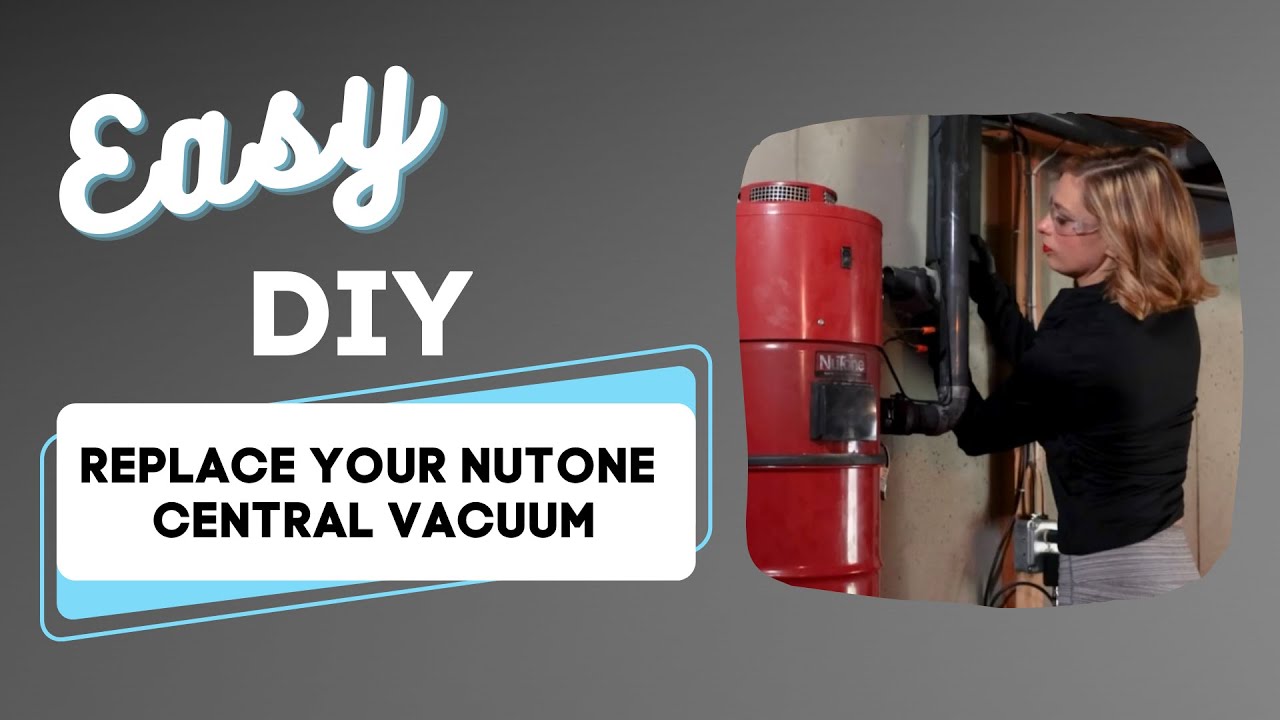
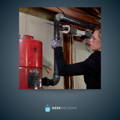
If you're tired of dealing with an outdated and underperforming NuTone central vacuum system, it's time to upgrade. VacuMaid units provide superior suction power, enhanced filtration, and improved usability. This guide will walk you through replacing your old NuTone central vacuum with a new VacuMaid unit. The instructions here will work for most built-in vacuum units. While the specific pipe configurations may vary depending on your setup, the instructions I've included here will be a general guideline. Let's get started!
Preparation
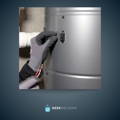
- Unplug your old unit and disconnect any attached low-voltage wires.
Preparation
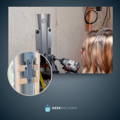
- Disconnect the fittings by separating the pipes. If the pipe is glued directly to the unit, carefully cut it using a hand or reciprocating saw, leaving a few inches of pipe before the fitting. Always support the pipe with your other hand to prevent cracking while cutting.
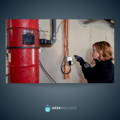
Removing the Old Unit
- If the screws holding your old unit are loose, you can lift the unit directly off the wall without tools. If it's tightly secured, use a wrench behind it to loosen the bolts a few turns and then slide it up.
- Remove the old central vacuum bracket from the wall.
Installing the New Bracket
- Attach the new bracket included with your VacuMaid unit to the wall. Using the provided bolts, you can usually mount it to a stud in the basement or a piece of wood.
- If your unit needs to be mounted on concrete, you must use concrete anchors (not included) for secure installation.
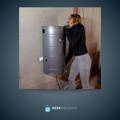
Hanging the New Unit
- Hang the unit above the bracket and slide it down into the matching v-shaped grooves at the back. Ensure it sits securely on the bracket and not on the sides.

Aligning the Dirt Intake
- One advantage of the VacuMaid unit is the flexibility to choose the side for the dirt intake. If your old unit had the dirt intake on the right, install the intake on the right side of the VacuMaid unit and place the plug on the left side.
- Insert the unit slowly, ensuring an airtight fit. Make sure it faces the back of the unit.
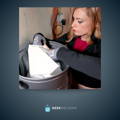
Installing the Bag
- Open the included bag fully and slide it over the dirt inlet.
- Securely install the cover, giving it a spin to ensure a good seal.
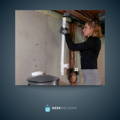
Attaching the Pipes
- Using a central vacuum pipe cutter, cut the pipes to fit from where you cut off the old pipe. Here's where you can add custom components, such as a valve for specific areas, but that is optional.

Attaching the Pipes
- Apply glue to the outside of all pipes and spin the pipe as you push it into place. No primer is required for central vacuum pipes as they do not carry liquid.
Connecting the Low-Voltage Wire
- Strip the end of the low-voltage wire and insert it into the clips on the side of the unit.
- The color of the wire does not matter for each specific clip.
Following these step-by-step instructions, you can successfully replace your old NuTone central vacuum with an upgraded VacuMaid, DuoVac, CanaVac, or Beam unit. Enjoy the benefits of increased suction power, improved filtration with larger HEPA bags, and an overall enhanced vacuuming experience. Remember, if you have any questions or need assistance, you can always contact us with photos of your current setup through our website. Happy vacuuming!