Central vacuum systems are a convenient and efficient way to keep your home clean and allergen-free. With the added feature of a retractable hose, you can now have a clutter-free cleaning experience. This blog post contains both a step-by-step video and written guide to walk you through installing a retractable hose central vacuum system. Let's get started!

Preparation
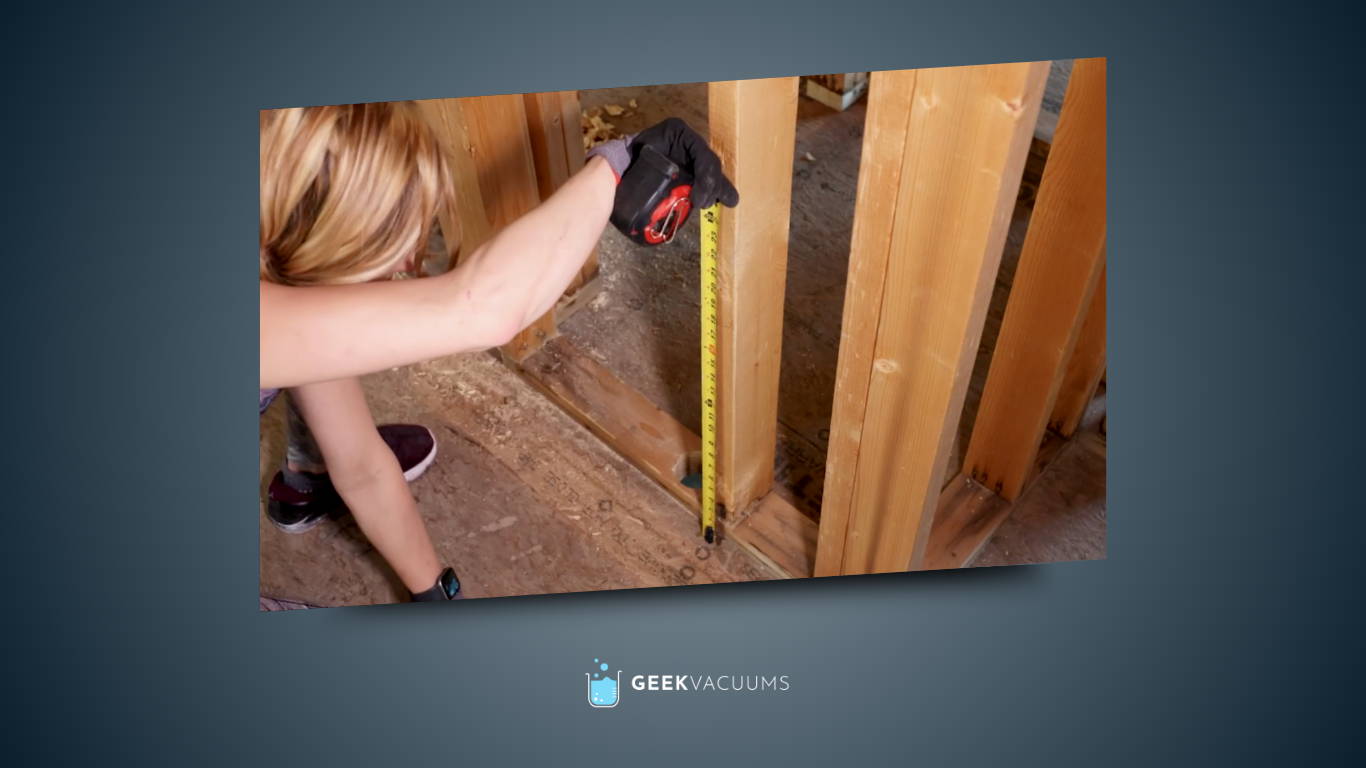
- Before you begin the installation, choosing the right location for the valve is essential.

Preparation
- Pre-measure upstairs and downstairs to determine the ideal spot for the valve.
- Ensure no obstructions like heating ducts, pipes, or wires are in the way.

Preparation
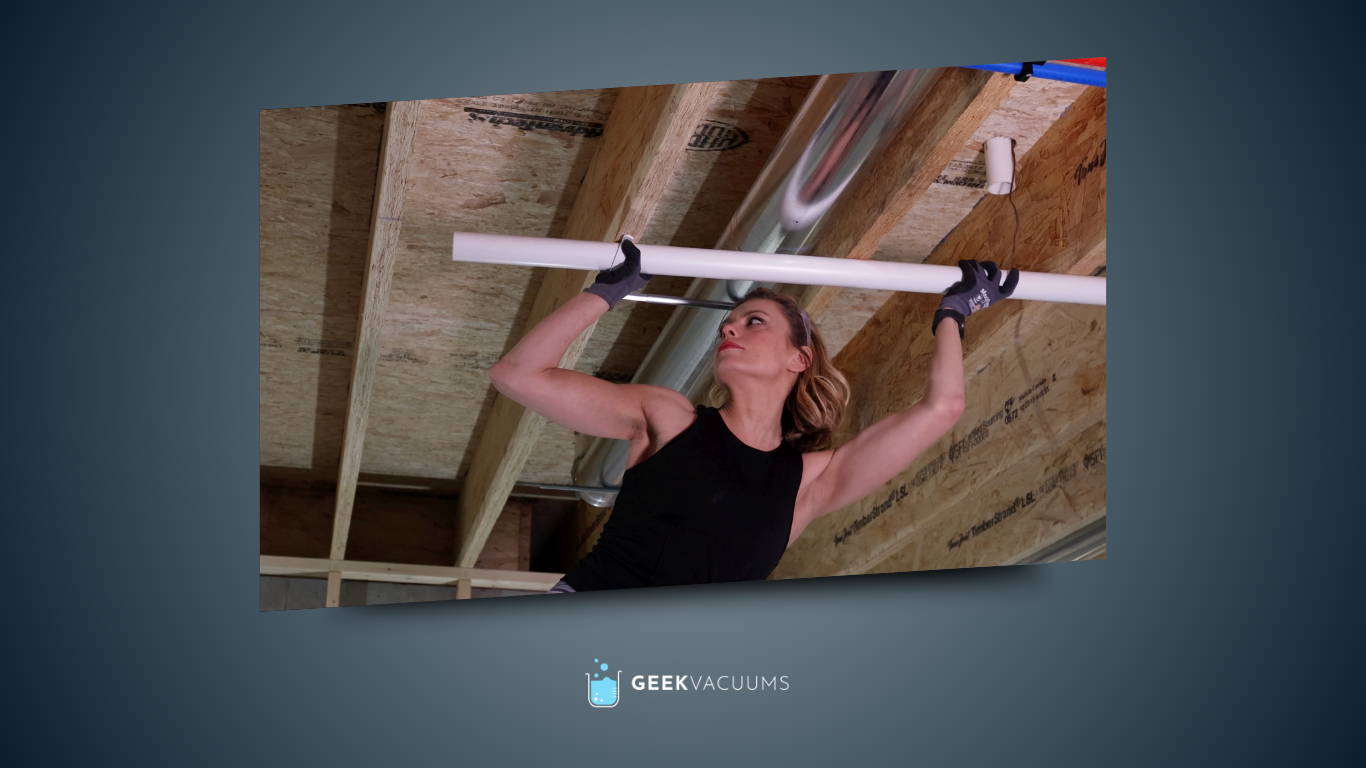
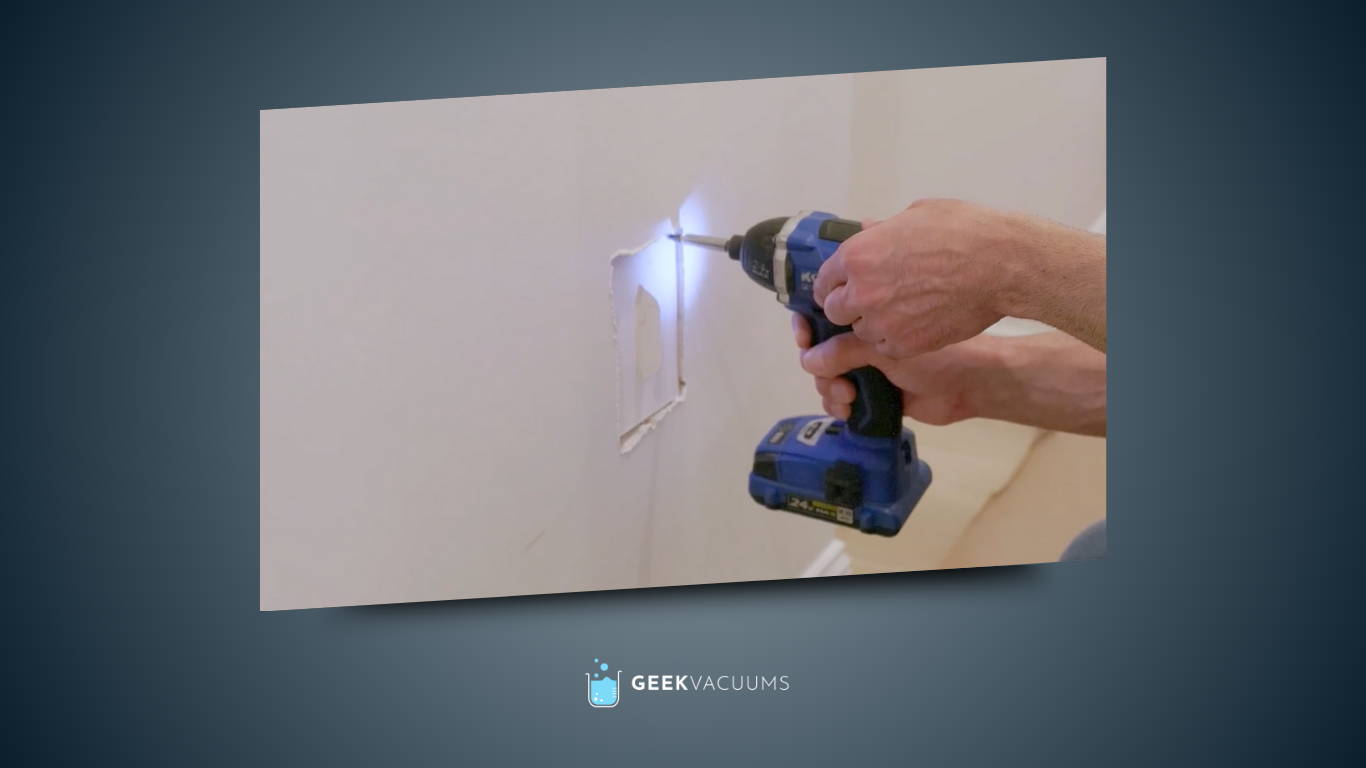
- Once confirmed, drill an eighth-inch pilot hole to ensure you won't drill into any ceiling beams below.

Preparation
- Once you’re sure of clearances, use a hole saw to drill a hole for pipes.
- In a downward orientation, align the valve with the height of electrical outlets, typically around 11 inches from the floor.
- For an upward orientation, mount the valve at the height of a light switch.
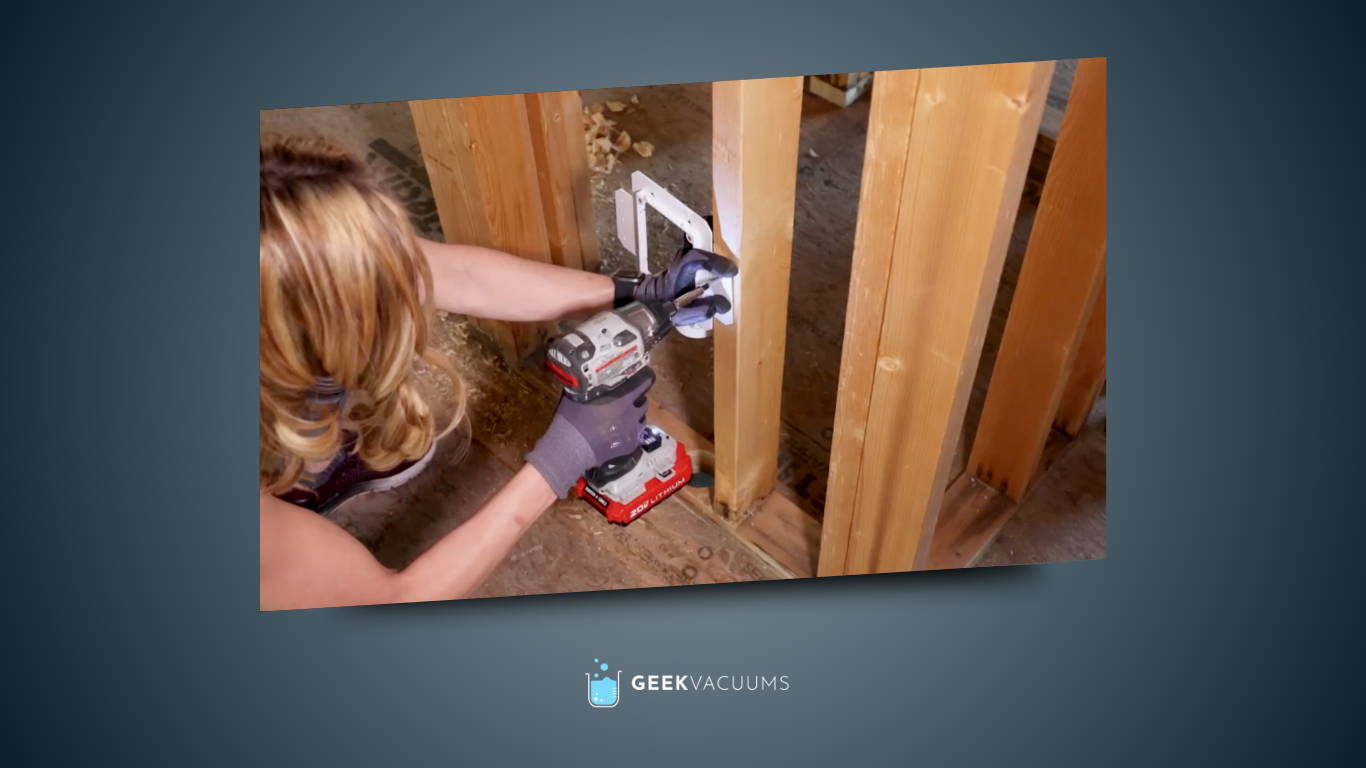
Mounting Backer Plate
- Secure the backer plate to the stud using two-inch drywall screws.

Pipe Installation
- Pull the pipe up from the basement into the bottom of the valve without gluing any fittings at this point.
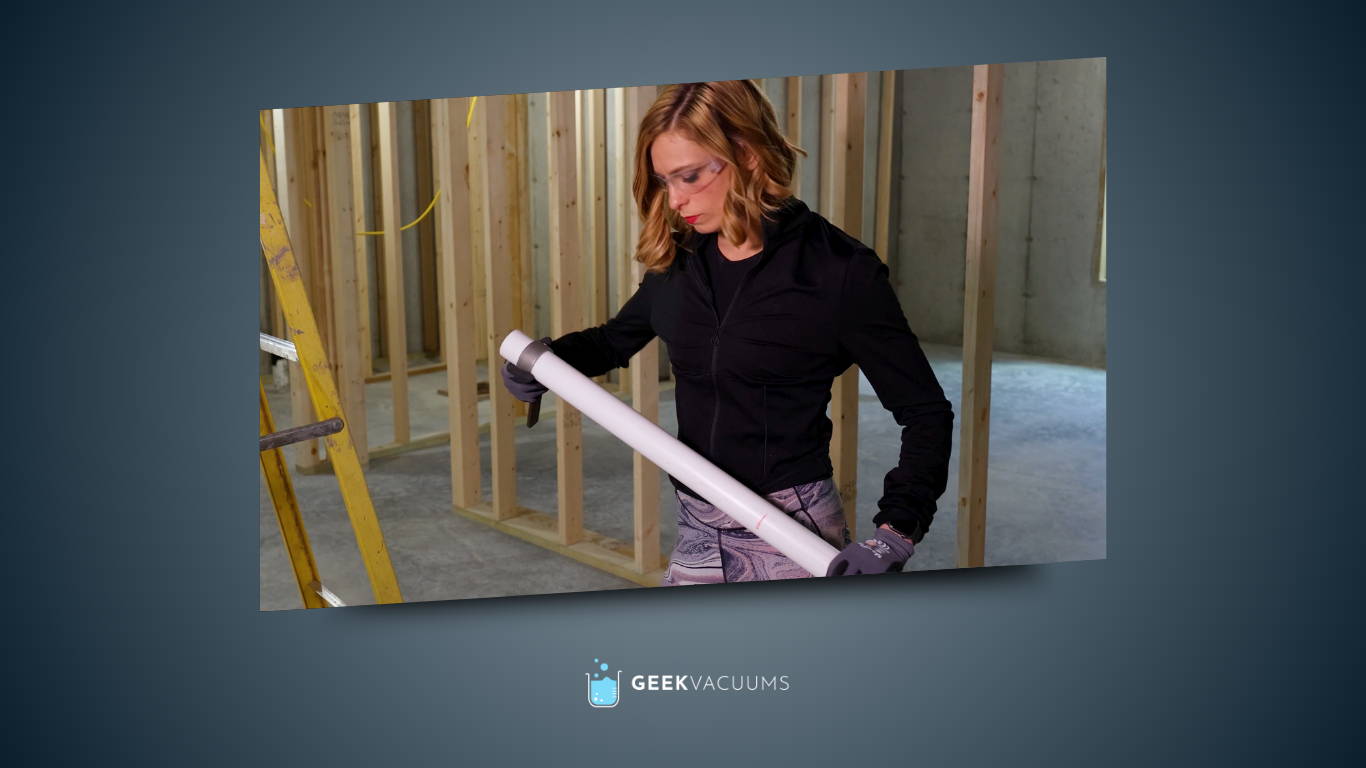
Pipe Installation
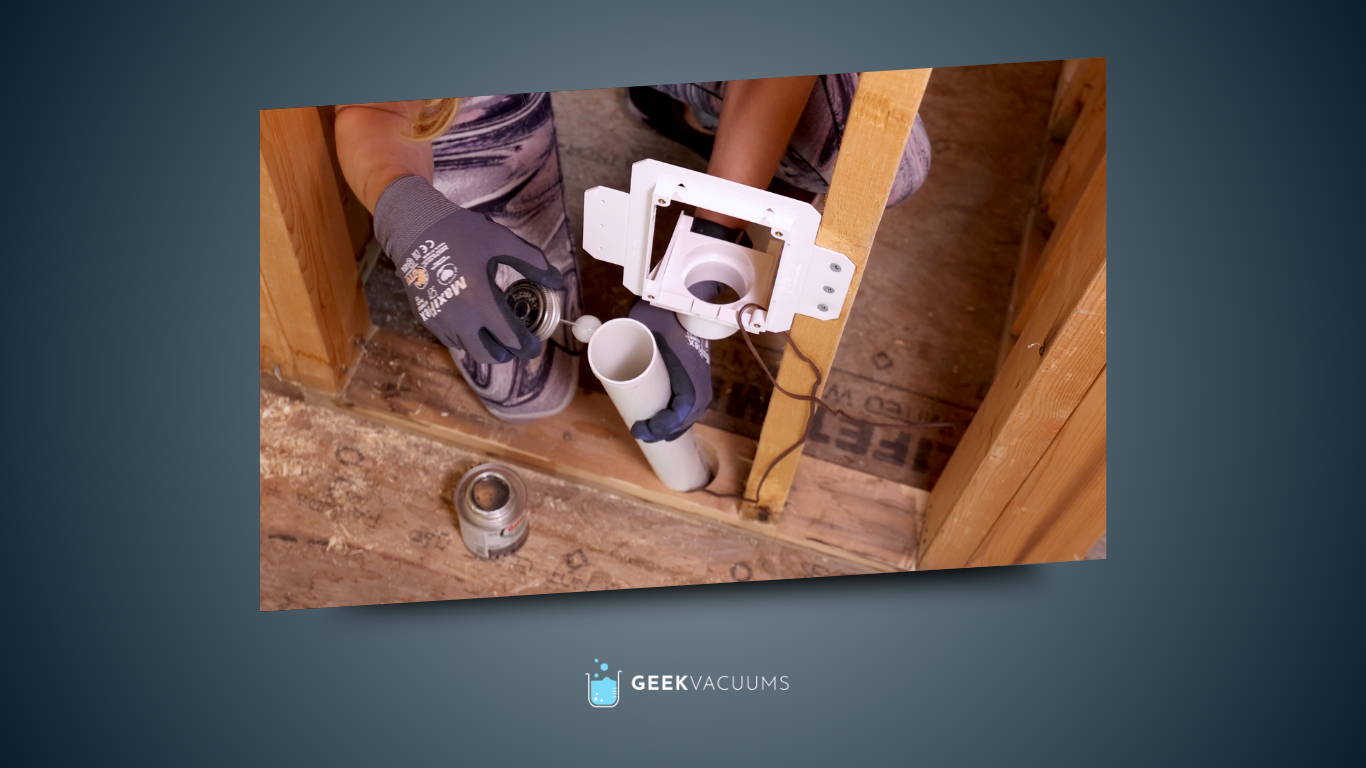
- Use a central vacuum pipe cutter or a fine-tooth saw to cut the pipe to fit the 90-degree elbow.
- Smooth the rough edges of the pipe with sandpaper to avoid hose snagging.
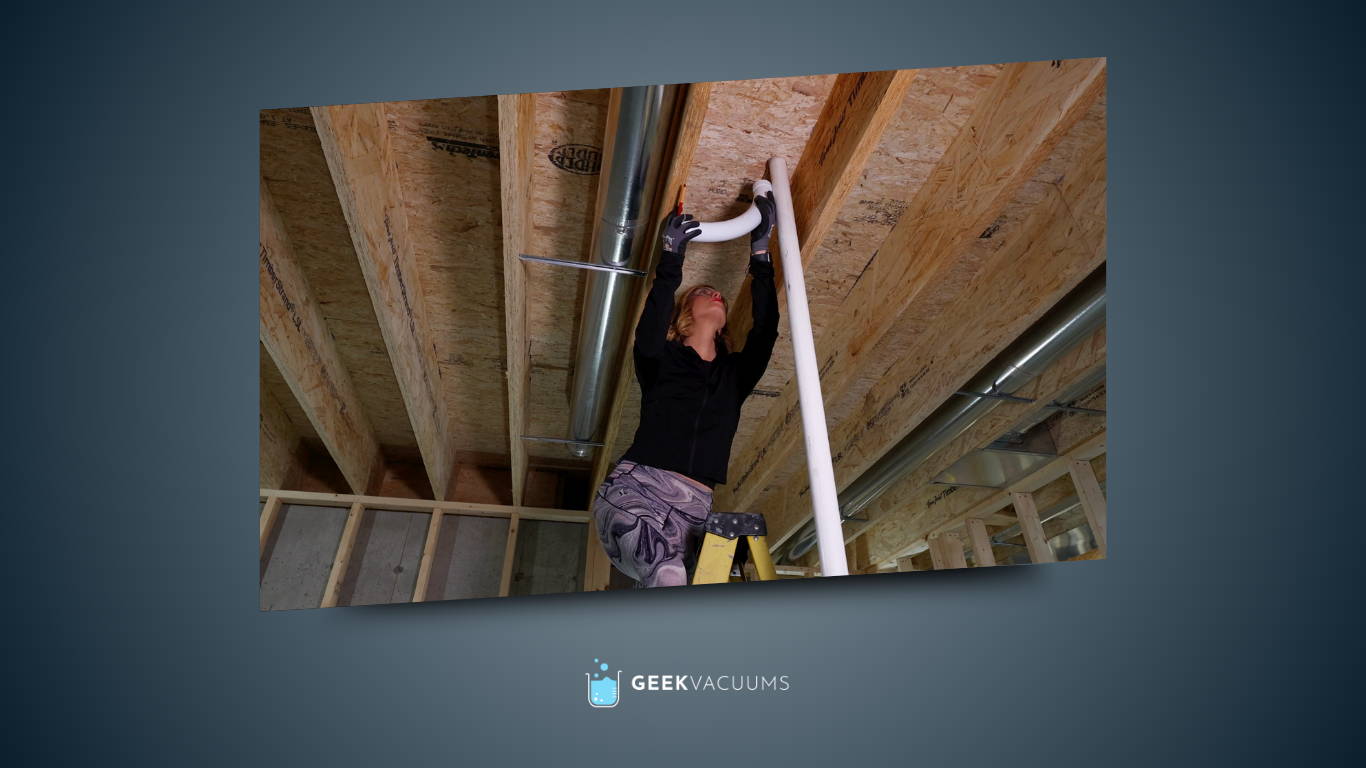
Pipe Installation
- Feed the pipe through the floor and test fit the 90-degree elbow.
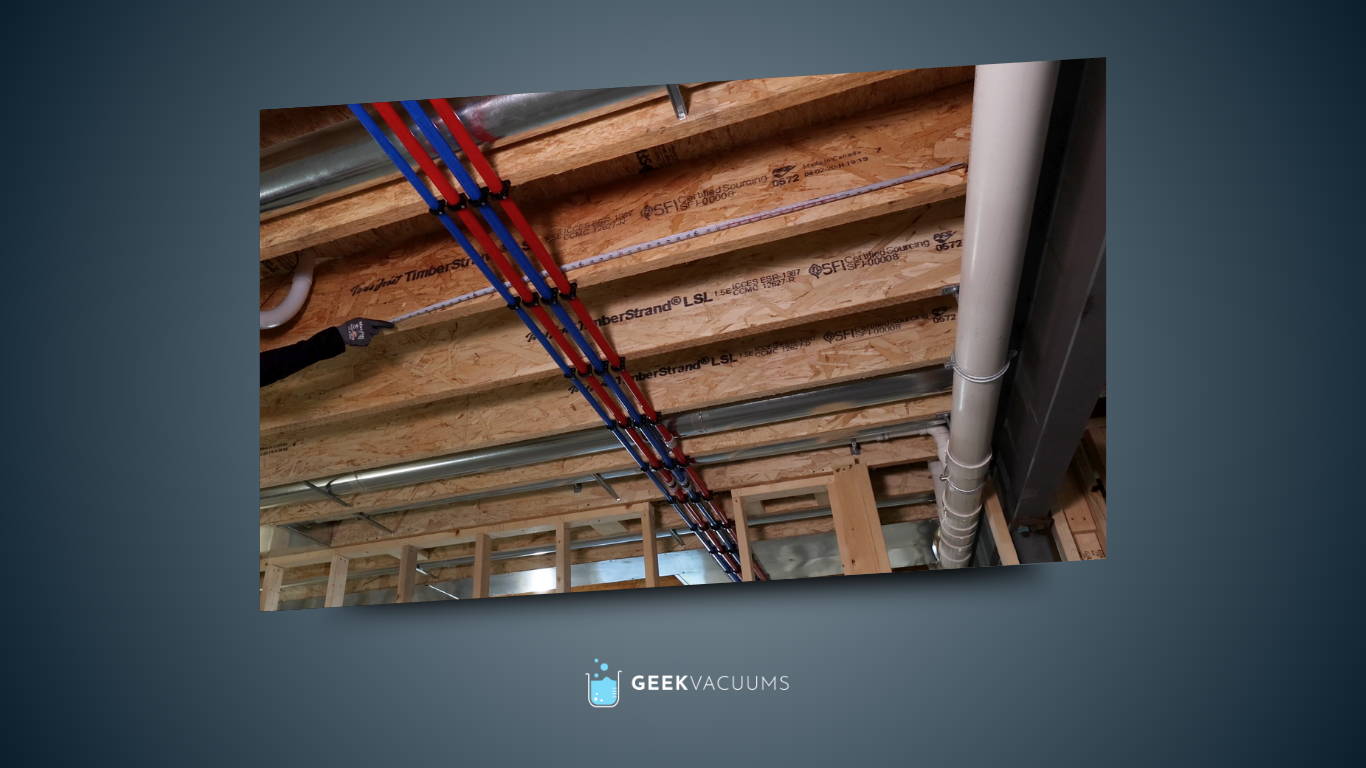
Laying Out Track
- Plan and measure the track layout, ensuring there are as many straight runs and as few angles as possible.
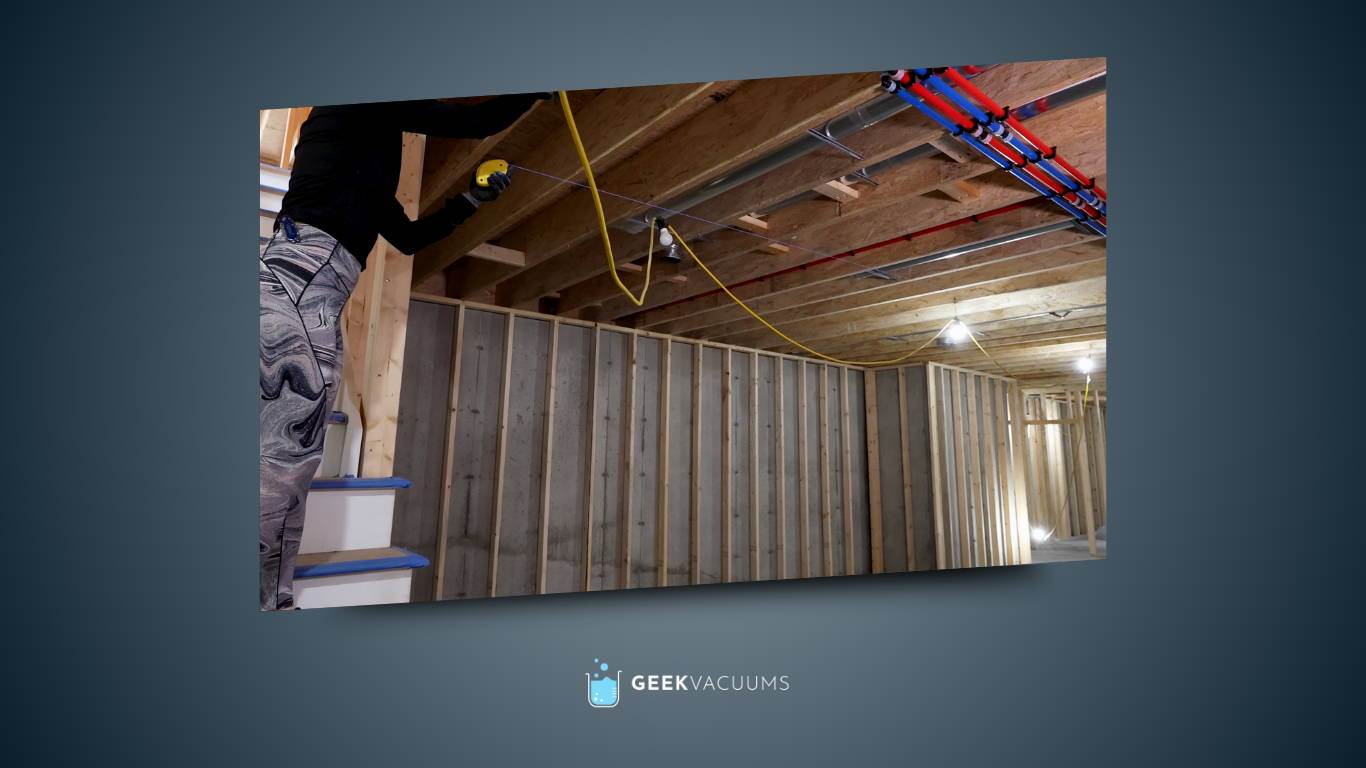
Laying Out Track
- Make a chalk line parallel to the outside wall to ensure a straight track.

Laying Out Track
- Screw a pipe clamp into the floor joists at regular intervals.
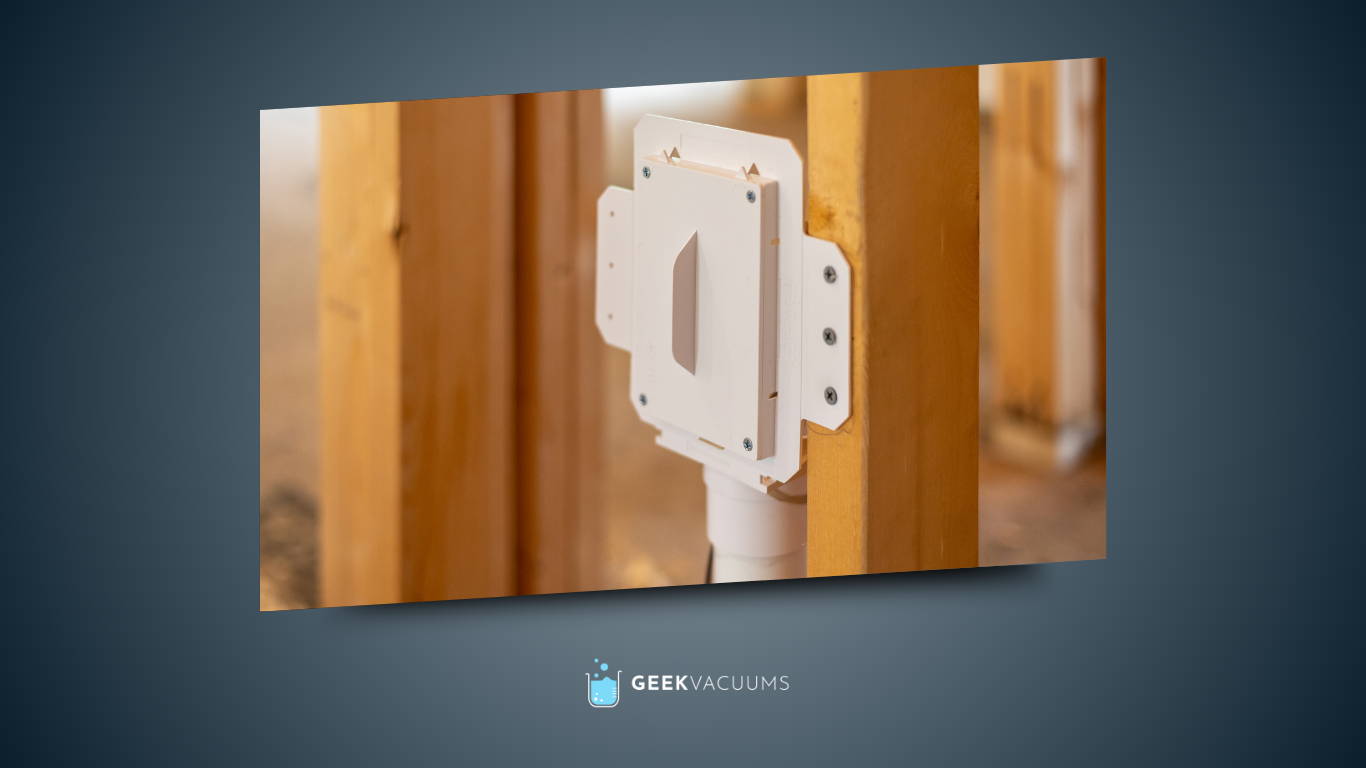
- Attach the mud cover to protect the inlet from damage during drywalling.
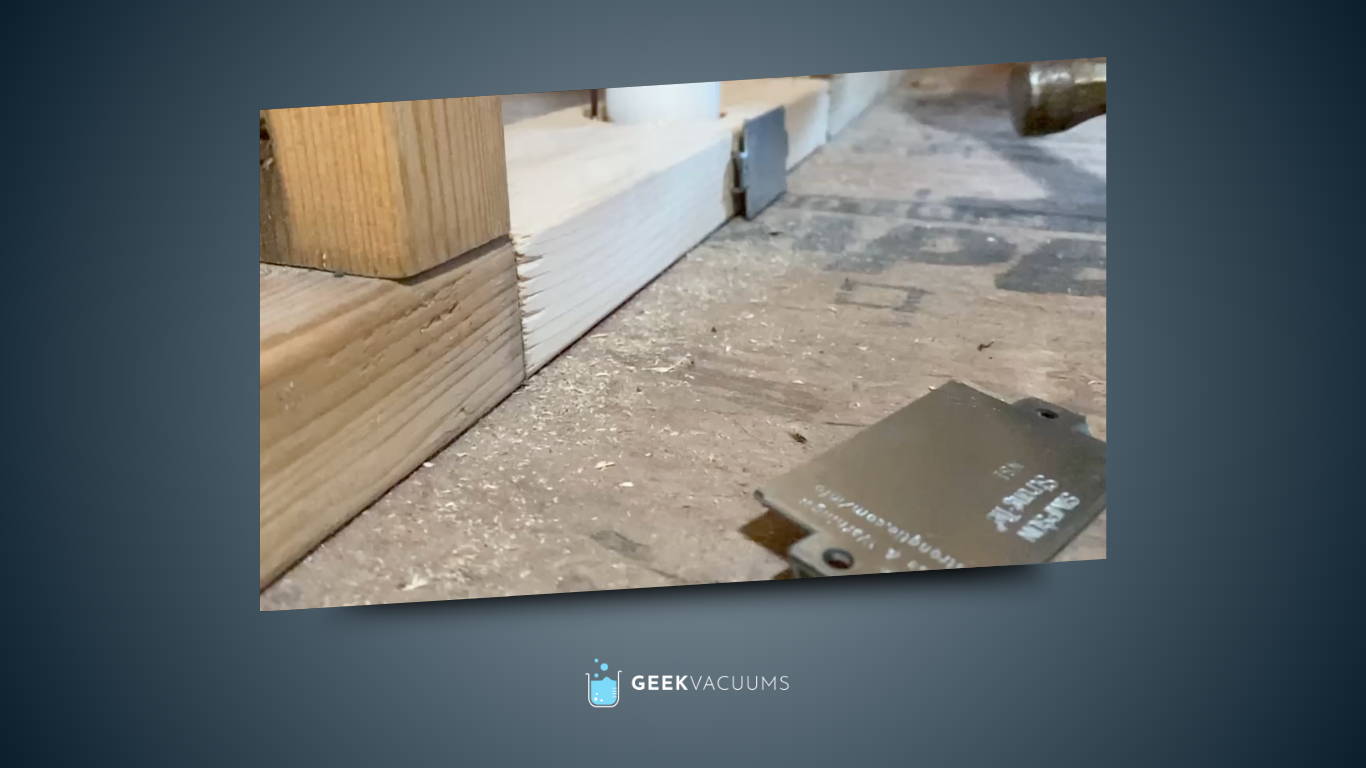
Nailer Plate
- Install the nailer plate to prevent punctures through the pipe.
Pipe Connections
- Feed the pipe through the pipe clamps

Pipe Connections
- Glue the pipe using couplers for straight runs and perfect 90-degree angles, and dry-fit all fittings and cuts before gluing.
Pipe Connections
- Apply glue to the outside of the pipes and spin the pipe as you push it into place.
- Central vacuum pipe does not require primer.
Mounting Unit
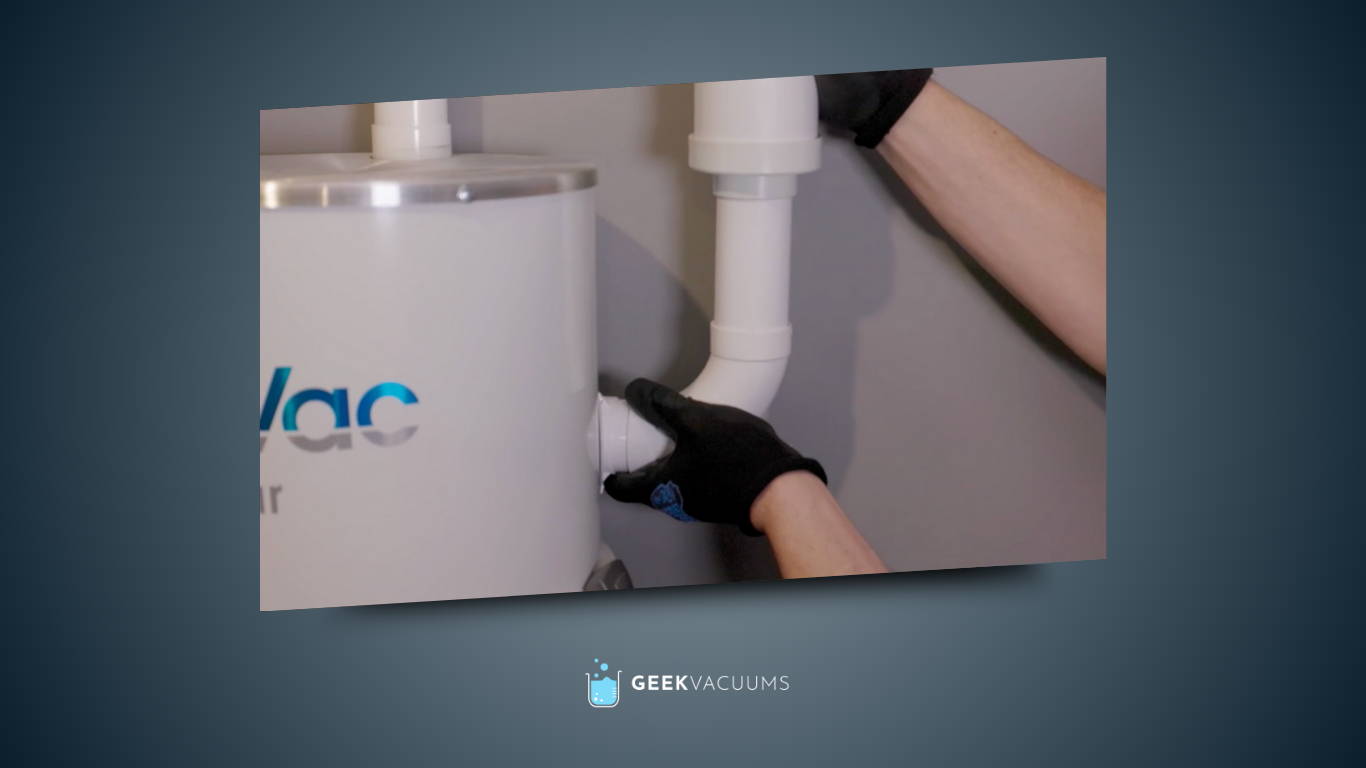
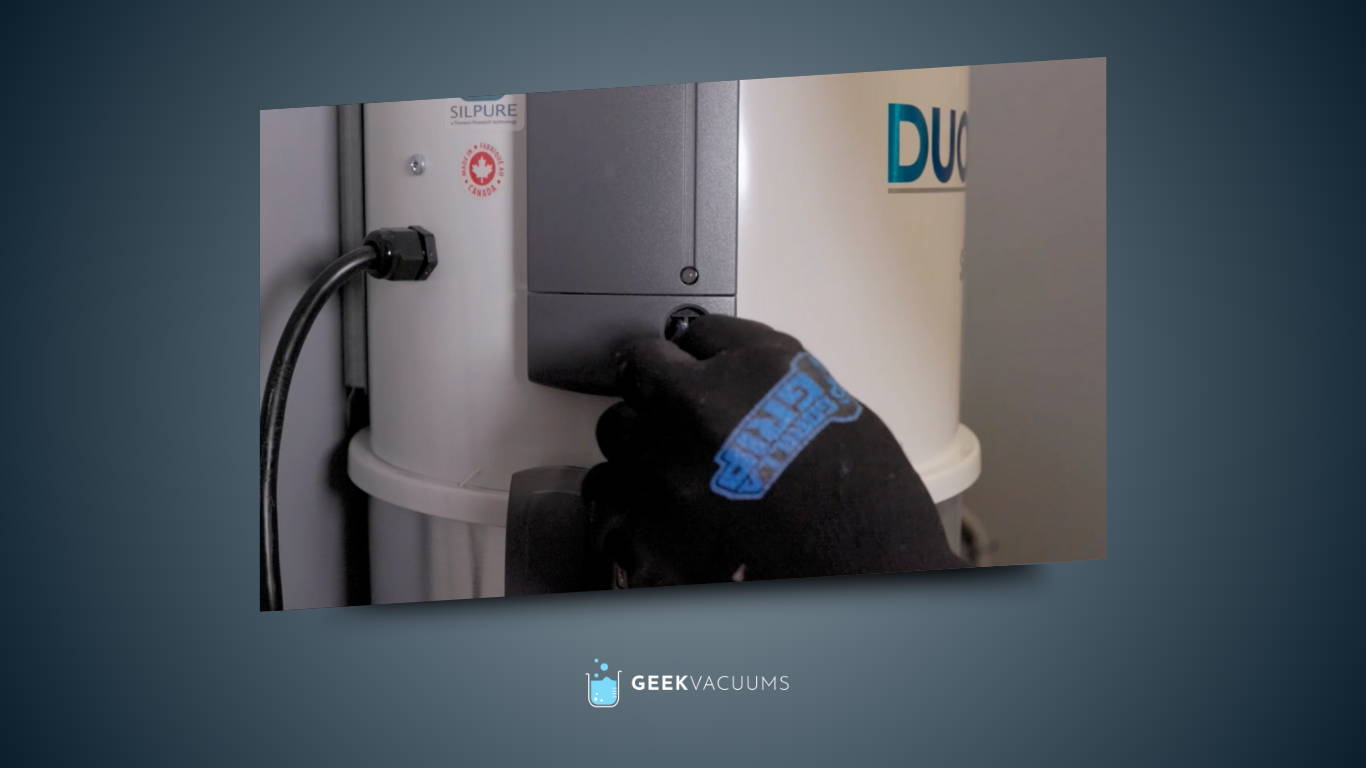
- Mount the bracket that came with the unit to the wall at chest height using the provided screws.
- Slide the unit onto the bracket to complete the mounting process.
Mounting Unit
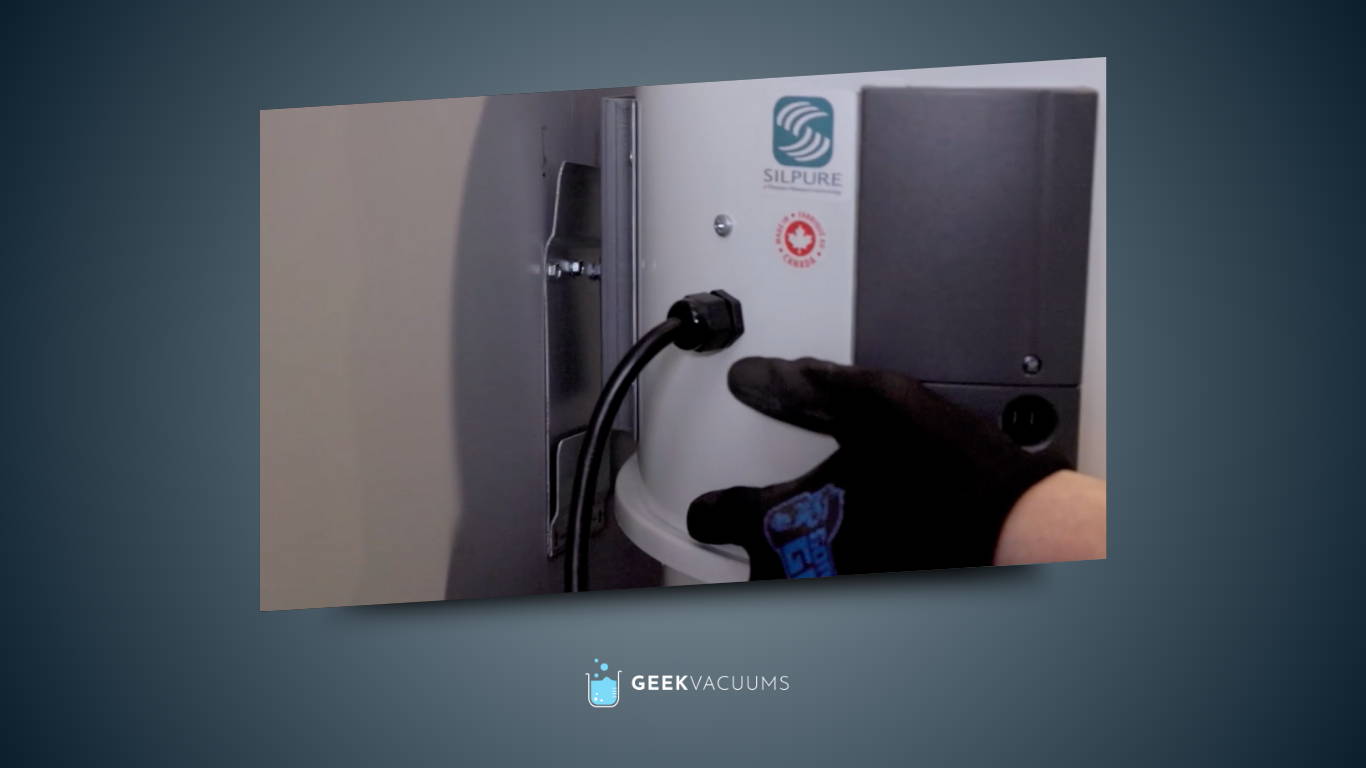
- Connect the tubing to the unit without gluing it for potential future maintenance.
- Consider using a muffler for the exhaust to reduce noise.
- If possible, vent the exhaust outdoors.
Wireless Receiver
- Mount the wireless receiver next to the unit and an electrical outlet.
- Run direct low-voltage wires from each inlet and accessory back to the unit.
Low-Voltage Connections
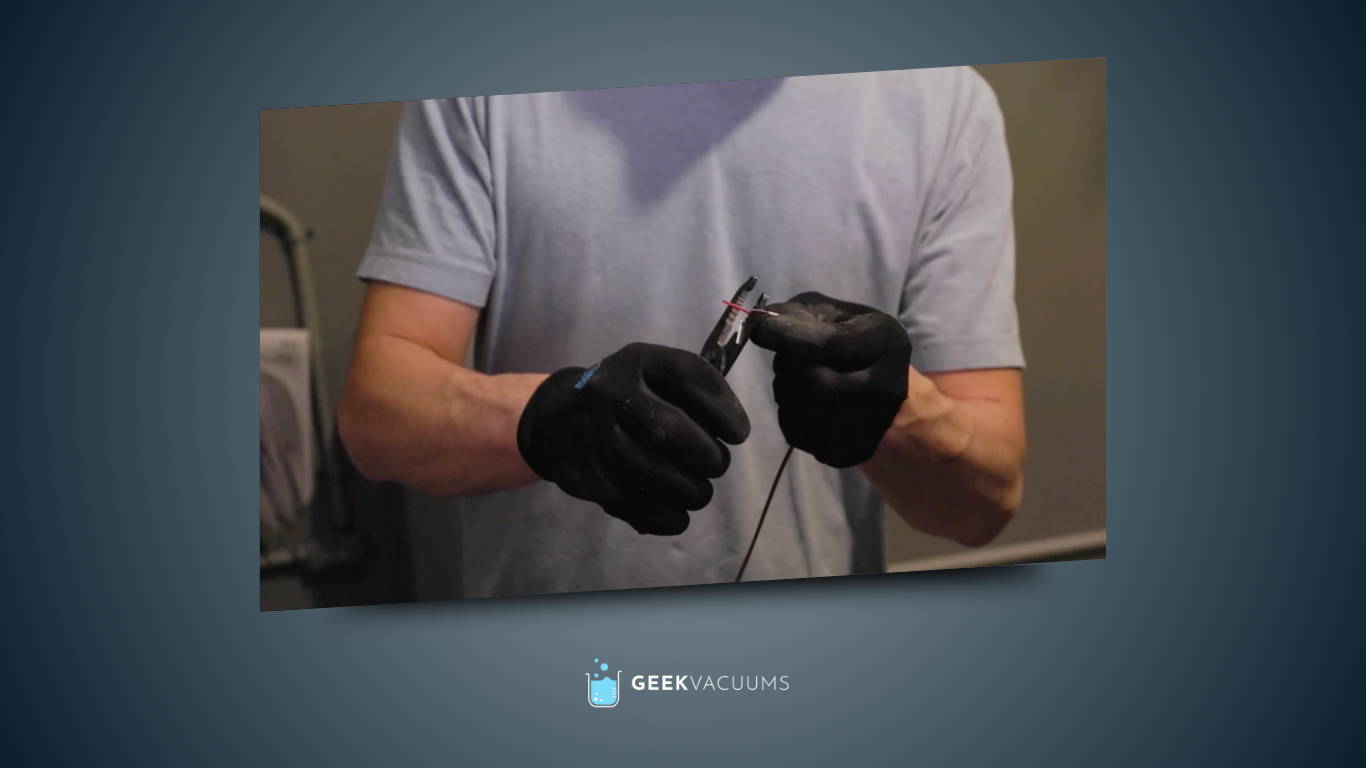
- Strip the outer sheathing on the wires about 1-1.5 inches back and then the smaller sheathing about 1/2 inch.

Low-Voltage Connections
- Connect all the wires correctly, reds to reds and whites to whites, and connect with wire nuts.
Low-Voltage Connections
- Depending on which unit you choose, the Duovac and Beam require a connector at the end of the wire to connect to the unit, while the VacuMaid allows the wire to be pushed directly into the clips.
- Crimp on the connectors and slide them onto the male connectors on the unit.
Valve Assembly
- First, make sure the central vacuum is turned off. Then unscrew the mud cover from the valve.
Valve Assembly
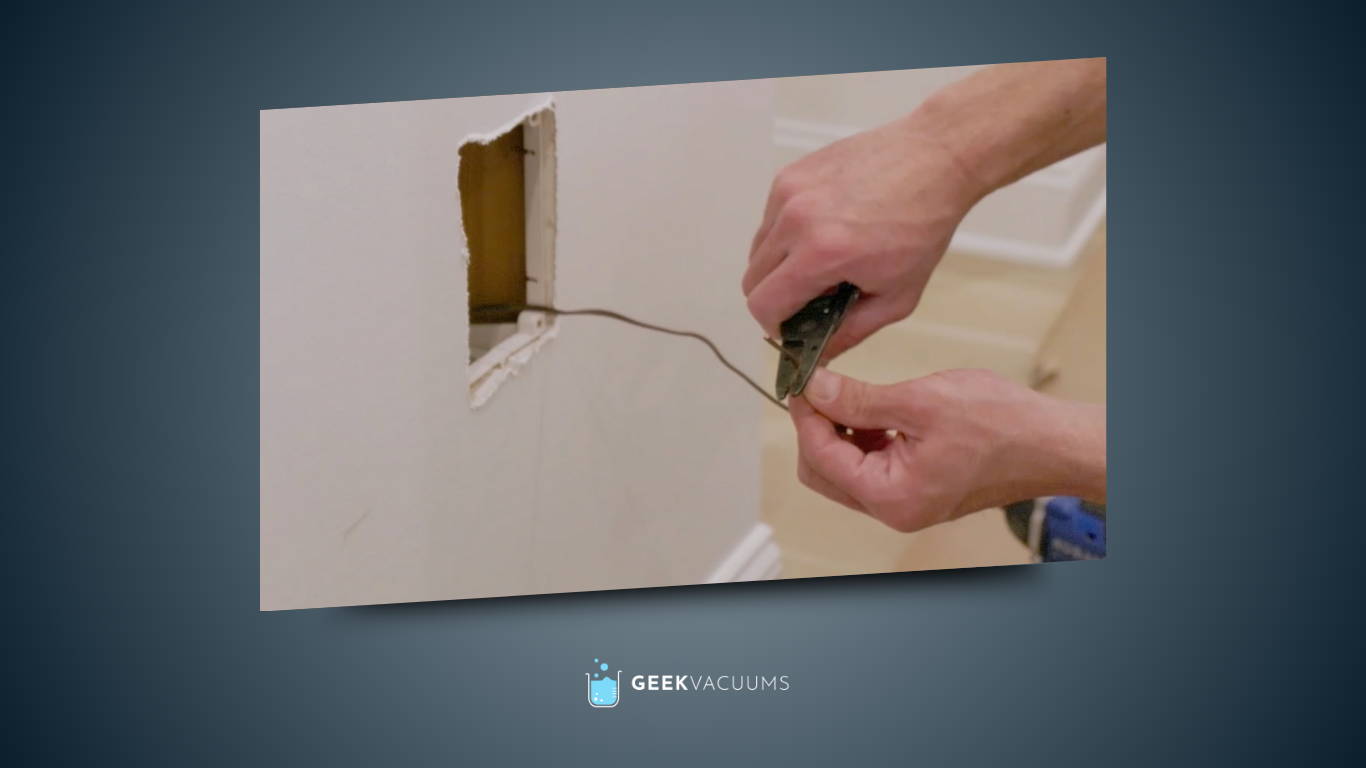
- Pull the low voltage wires out from inside the valve, strip the outer sheathing on the wires about 1-1.5 inches back, and then the smaller sheathing about 1/2 inch.
Valve Assembly
- Connect the two leads from the switch mounted outside the valve to the low-voltage wire using wire nuts.
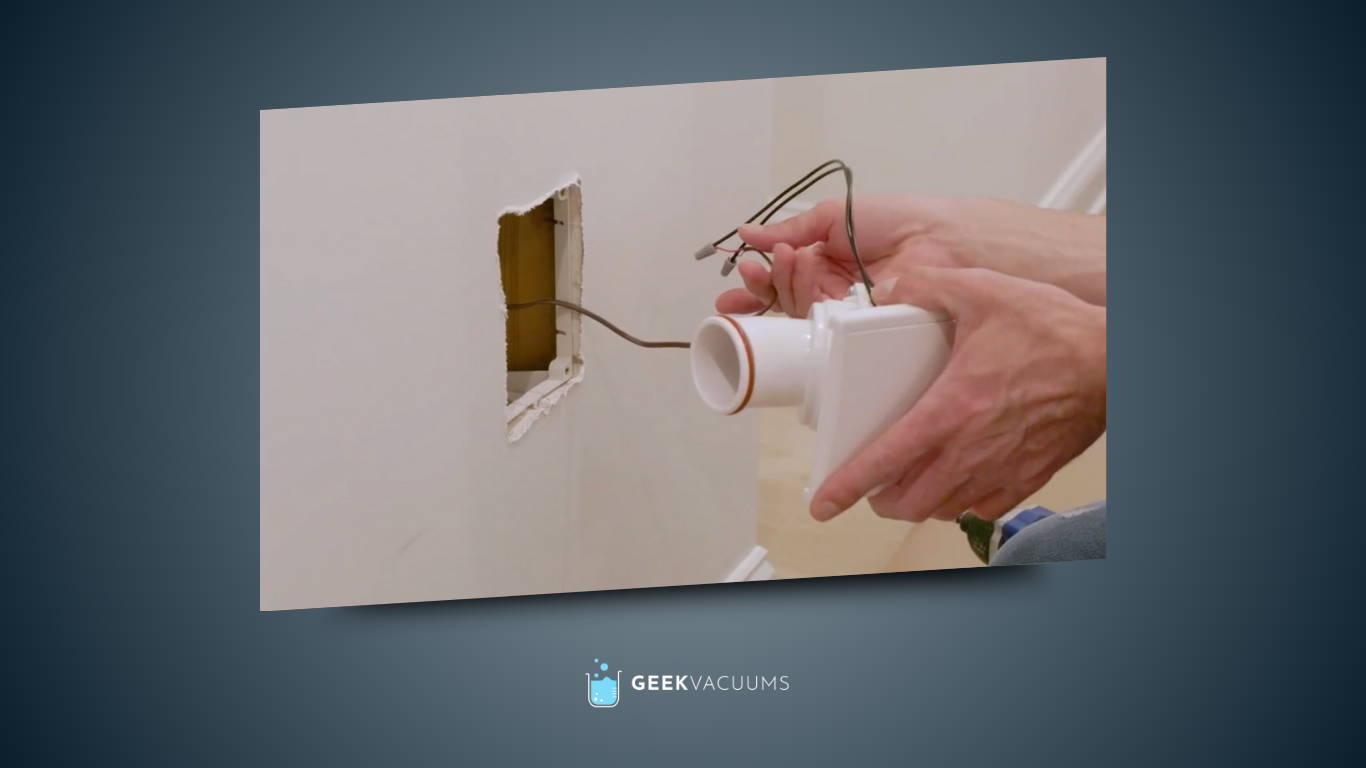
Valve Assembly
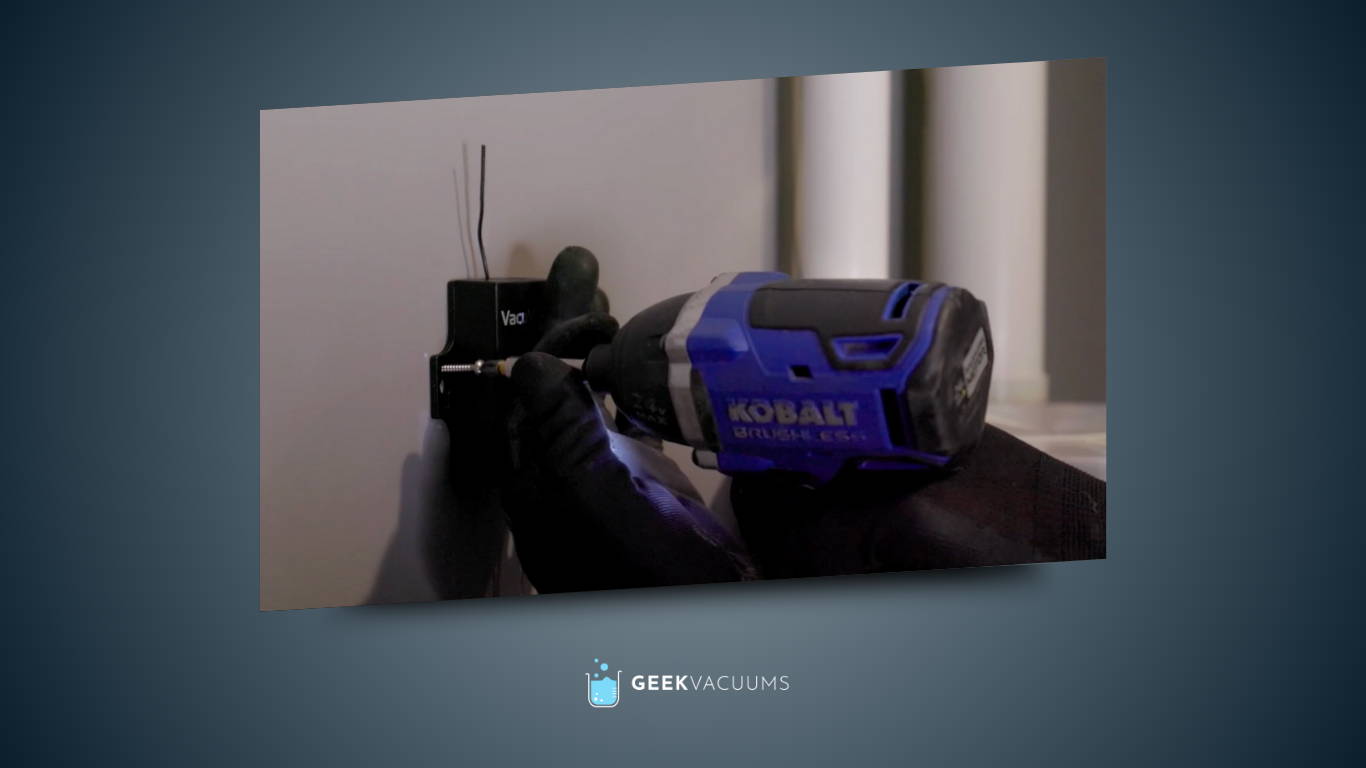
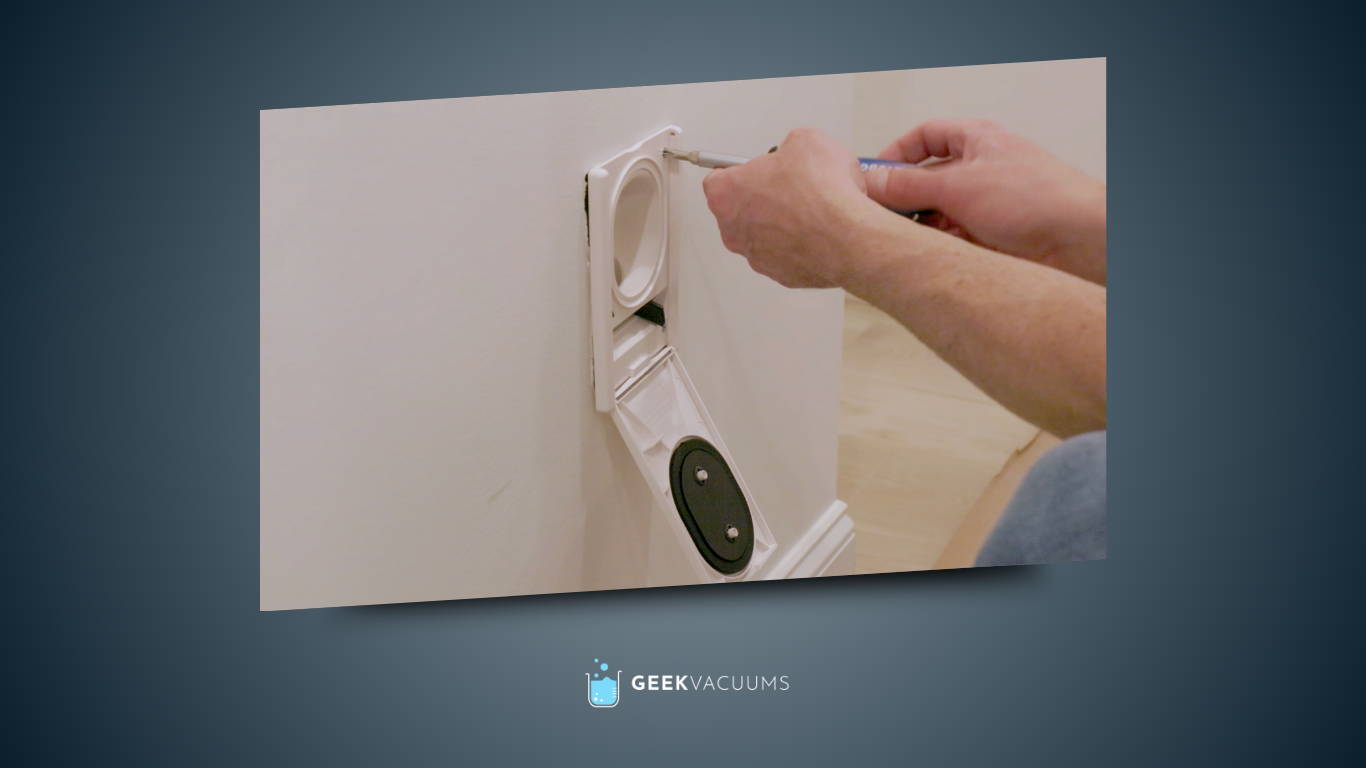
- Insert the valve assembly into the rough-in frame.
- Align the four holes in the valve assembly with the holes in the frame. Secure with the four screws included in the trim kit using a screwdriver.
- DO NOT use a power tool, as you could damage the backer plate.
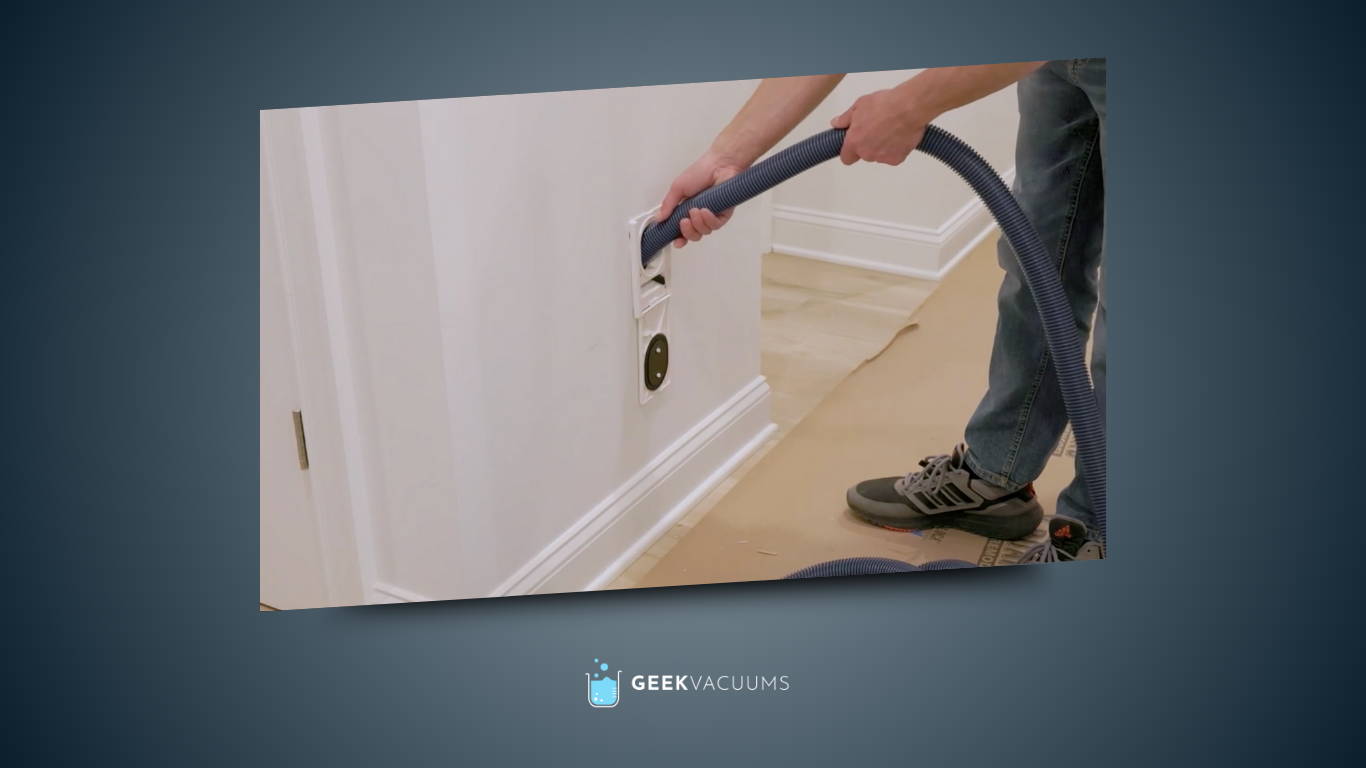
Hose Installation
- Turn the switch on the valve to the ON position to trigger the central vacuum suction.
- Slowly feed the end of the hose with white trim into the valve.
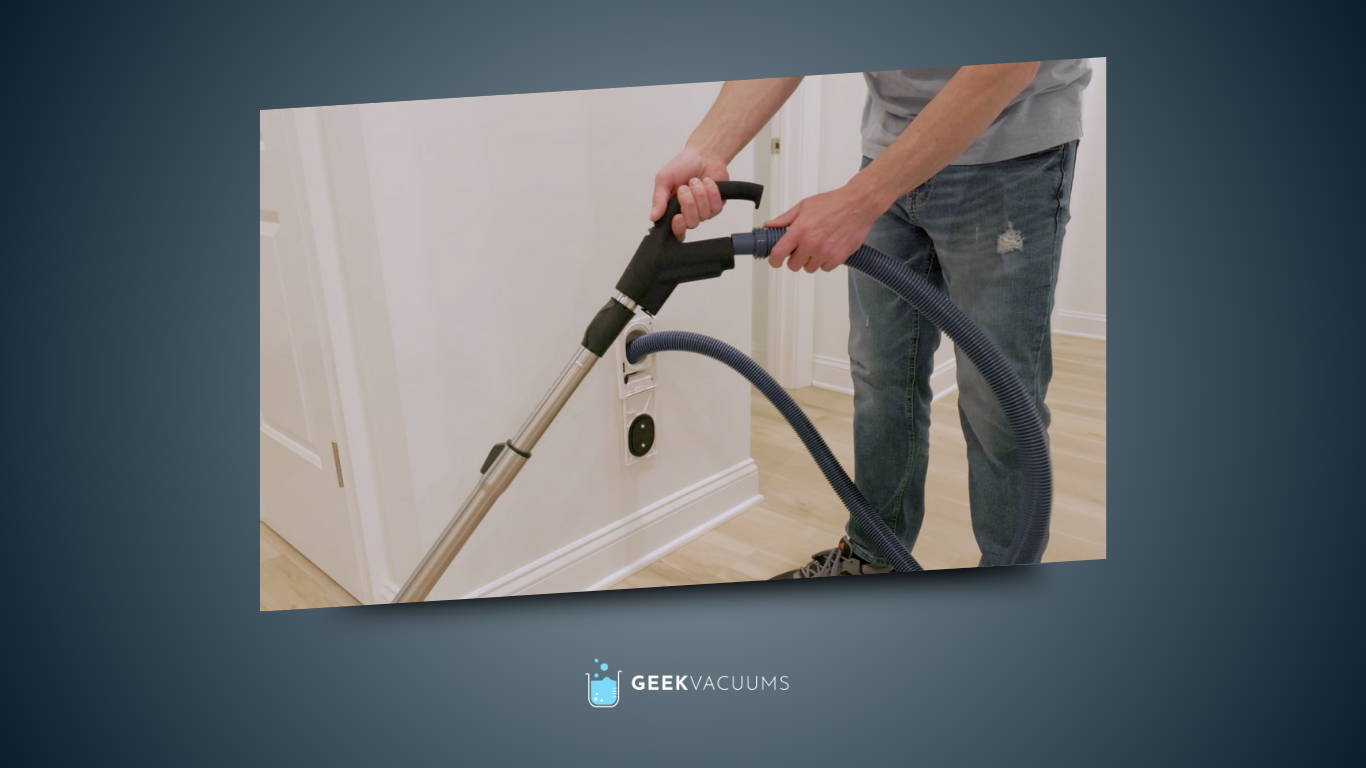
Hose Installation
- When using any retractable hose, ALWAYS lock the hose in place using the black lever on the valve after the hose is pulled out to the desired length.
- Connect the built in vacuum hose to your cleaning attachments and you're all set for EASY cleaning!
Installing a retractable hose central vacuum system is a worthwhile investment that provides convenience and a clutter-free cleaning experience. By following these step-by-step instructions, you can enjoy the benefits of a central vacuum system with the added convenience of a retractable hose. Just need to replace your central vacuum unit, we can show you how to do that too! Happy cleaning!
Remember to hit the like button on YouTube and subscribe to our channel for more informative DIY videos. Thank you for reading!